Ingredienti per le basi :
Acqua 300 gr
Burro 150 gr
Farina 225 gr
Uova 6
Zucchero 7 gr
Sale 1 pizzico
Essenza Vaniglia o Vanillina
Stampi diametro 22 cm
Farcitura
Mascarpone 500 gr
Panna liquida da montare 400 ml ( ho usato sue piccole confezione standard)
Tuorli 4
Zucchero 120 gr
Vaniglia
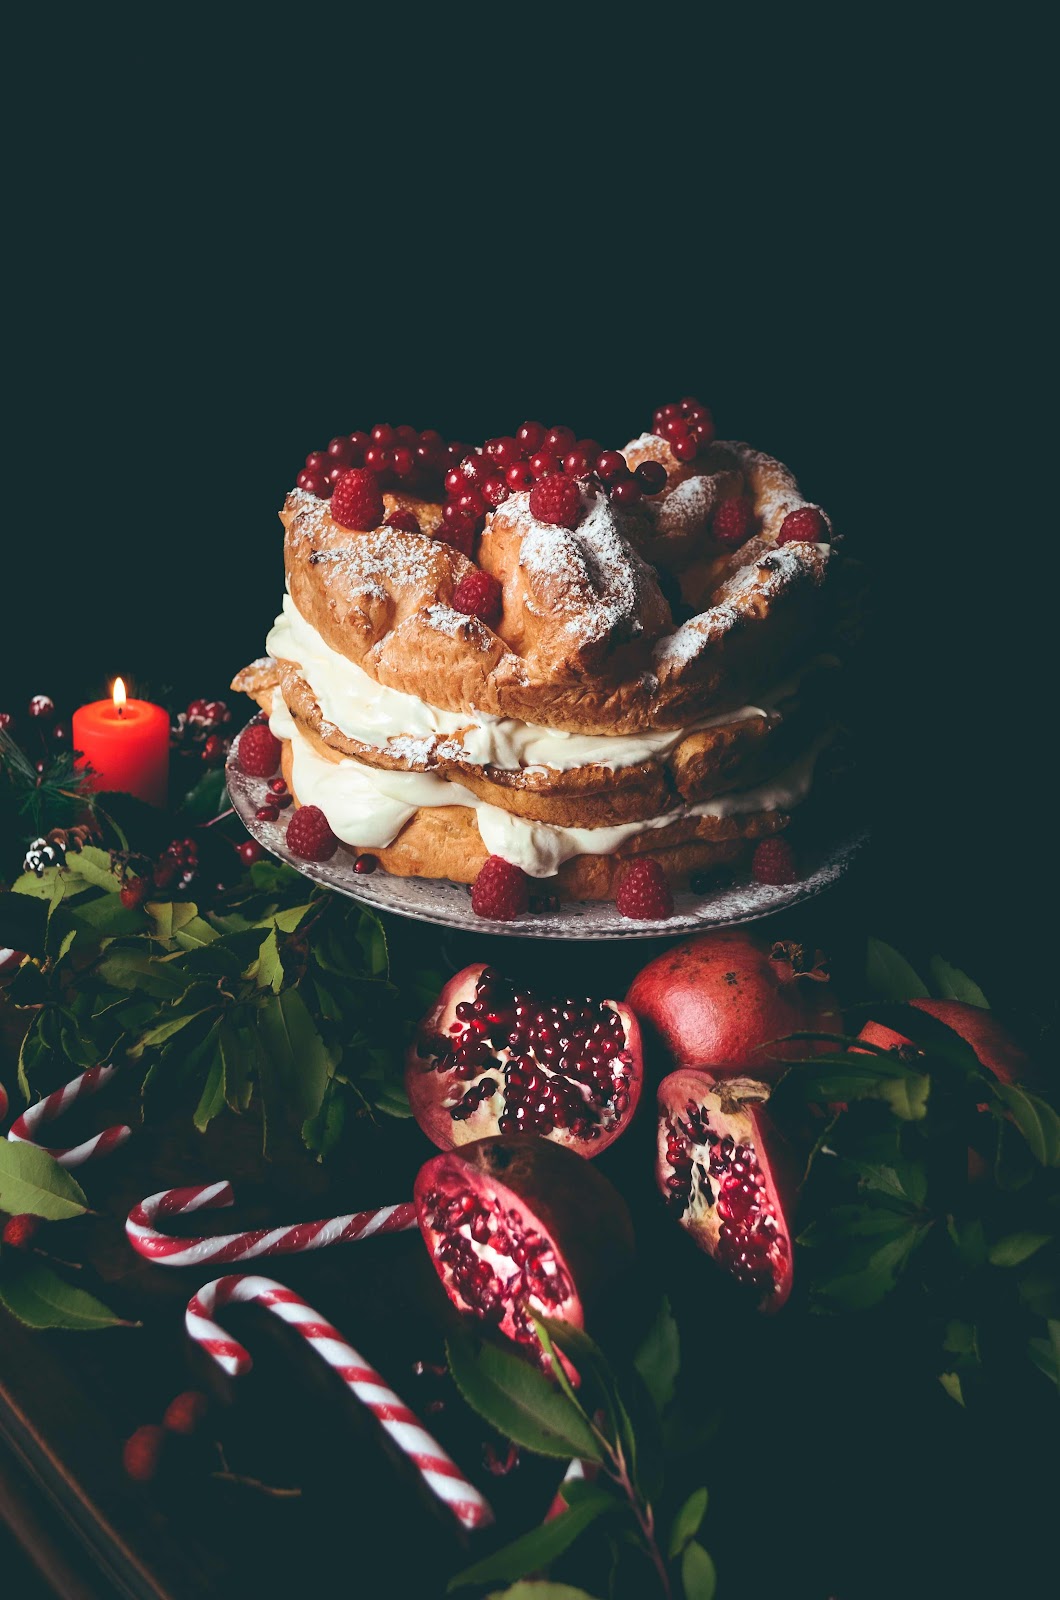
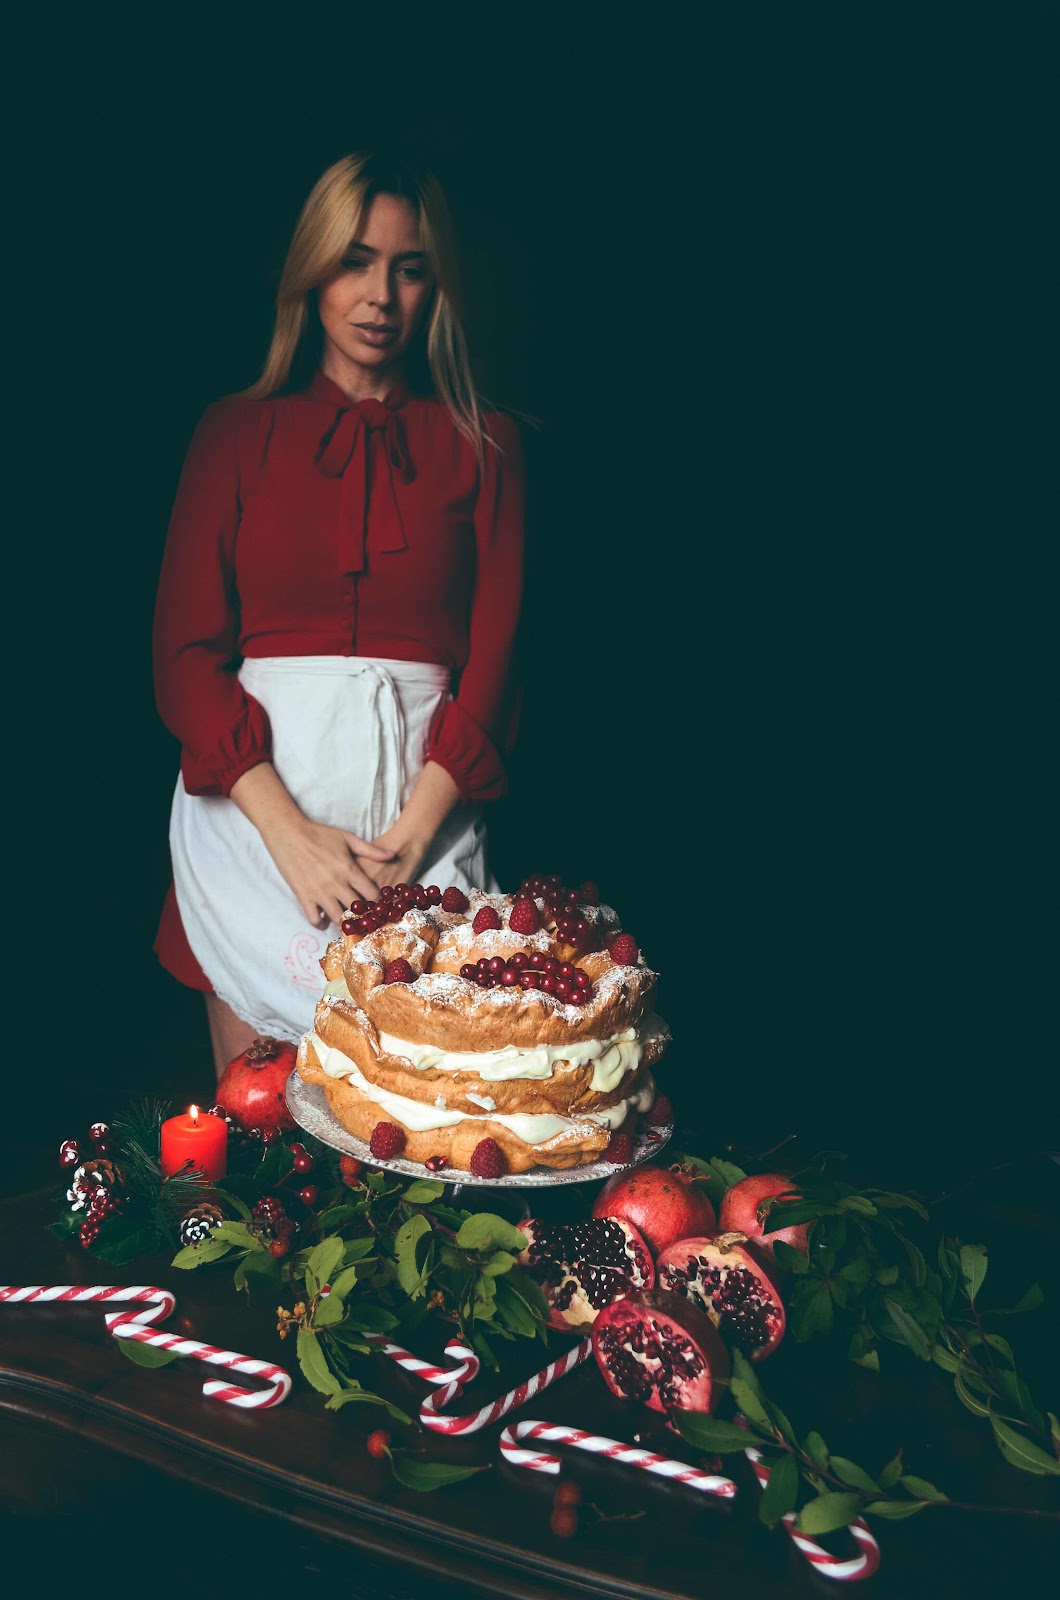
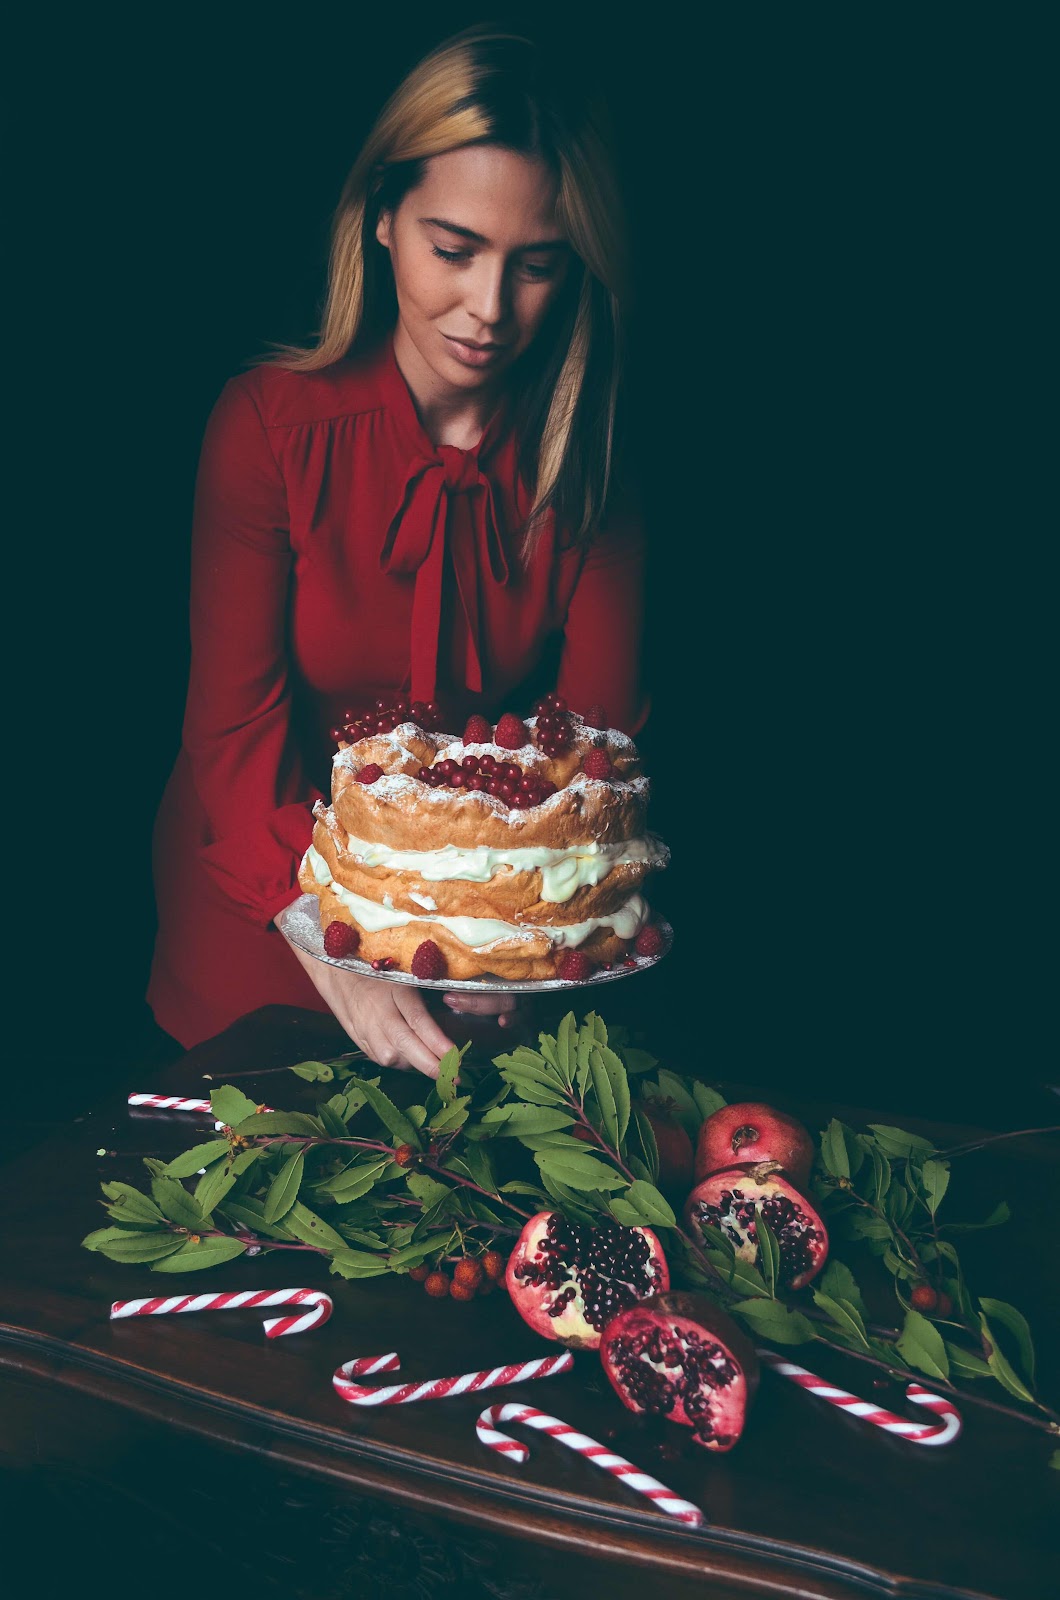
Questa torta è nata dall’idea di fare qualcosa di cremoso e scenografico per Natale, ma prima di tutto, quanti di voi amano i bignè? Bene io sono una grande amante di quei dolci così ho pensato riportare quella consistenza e cremosità in formato torta. Le basi sono fatte di pasta choux, davvero super facile da preparare. Vi serviranno 2 stampi dal diametro di 22 cm, dovrete fare due infornate, nella prima userete i due stampi, nella terza uno dei due stampi. Vi spiegherò come procedere proprio come ho fatto io, sfruttando i tempi di cottura per fare la farcia!! Ma ora allacciamo il grembiule e iniziamo!
1) La Pasta Choux si prepara ai fornelli, quindi versate l’acqua in una pentola meglio antiaderente, aggiungete lo zucchero, il sale e il burro. Fate sciogliere a fiamma media.
2) Quando inizia a sobbollire diminuite la fiamma e versate pian pianino la farina setacciata mixata con la vanillina o essenza di vaniglia . Mescolate velocemente con un mestolo, si formerà una palla unica di impasto gommoso. Fatelo cuocere 2/3 minuti massimo.
3)Versate l’impasto caldo dentro un recipiente capiente e fatelo sfreddare. Nel mentre prepariamo gli stampi.
4) Posate gli stampi al rovescio sulla carta da forno, passate una lama affilata lungo i bordi e infine ritagliate la forma di carta creata. Passate del burro sulla superficie degli stampi e rivestite bene con la carta da forno ritagliata. Gli stampi sono pronti per posare la pasta choux.
5) Preriscaldate il forno statico a 220 gradi.
6) Una volta intiepidita la pasta choux aggiungete i tuorli precedentemente sbattuti. Usate una frusta normale o elettrica per amalgamare . Uscirà un impasto molto denso e appiccicoso. Dividetelo in 3 porzioni uguali, basterà pesarlo per dividerlo in modo esatto.
7) Spalmate delicatamente l’impasto sugli stampi , mi raccomando usate una spatola piatta e create delle onde, non deve essere steso in modo perfetto anzi deve essere irregolare così in cottura si gonfierà creando onde molto belle. Riempite tutta la circonferenza dello stampo, spalmando in modo grossolano.
8) Infornate posando i due stampi sul primo livello partendo dal basso. Primi 15 minuti 220 gradi statico e inseguito altri 10 minuti. Con il mio forno sono bastati 10 minuti nella seconda fase, ma se non sono dorati nel vostro proseguite per altri 5 minuti.
9)Mentre fate cuocere la terza base prepariamo la farcia. Frullate i tuorli con lo zucchero, dopodichè aggiungete il mascarpone e infine la panna dopo averla ben montata. Riponete la crema in frigo e fatela addensare per un’ora.
10) Dopo aver sfornato le basi, una volta che sono fredde e che la crema è soda, farcite il primo strato con abbondante crema, quando prendete il secondo disco spalmate crema anche nel suo rovescio così quando lo poggiate farà più spessore di crema. Proseguite facendo la stessa operazione per la terza base.
11) Polverizzate con zucchero a velo l’ultima base “montuosa” e se volete decorare come ho fatto io, usate frutti rossi.
12) La torta di può far riposare ulteriormente in frigo per diverse ore oppure gustarla subito. In ogni caso si dovrà conservare in frigo.
Sentirete che bontà, una torta davvero facile da fare e super bella 😍!!! Promossa come torta per Natale ❤️!
Buon appetito
Ingredients for the bases:
Water 300 gr
Butter 150 gr
Flour 225 gr
Eggs 6
Sugar 7 gr
Salt 1 pinch
Vanilla or Vanillin essence
22 cm diameter molds
Stuffing
Mascarpone cheese 500 gr
Liquid whipping cream 400 ml (I used its small standard packaging)
Yolks 4
Sugar 120 gr
Vanilla
This cake was born from the idea of making something creamy and spectacular for Christmas, but first of all, how many of you love cream puffs? Well I'm a big lover of those desserts so I thought I'd bring that texture and creaminess back into cake format. The bases are made of choux pastry, which is really super easy to make. You will need 2 molds with a diameter of 22 cm, you will have to bake two, in the first you will use the two molds, in the third one of the two molds. I will explain how to proceed just like I did, using the cooking times to make the filling !! But now let's tie the apron and get started!
1) The Choux Paste is prepared on the stove, then pour the water into a better non-stick pan, add the sugar, salt and butter. Melt over medium heat.
2) When it starts to simmer, reduce the heat and slowly pour the sifted flour mixed with vanillin or vanilla essence. Mix quickly with a ladle, a single ball of gummy dough will form. Cook it for 2/3 minutes maximum.
3) Pour the hot dough into a large container and let it cool. Meanwhile we prepare the molds.
4) Place the molds upside down on the baking paper, pass a sharp blade along the edges and finally cut out the paper shape created. Spread some butter on the surface of the molds and coat well with the cut out parchment paper. The molds are ready to lay the choux pastry.
5) Preheat the static oven to 220 degrees.
6) Once the choux pastry has cooled, add the previously beaten egg yolks. Use a normal or electric whisk to mix. A very thick and sticky dough will come out. Divide it into 3 equal portions, just weigh it to divide it exactly.
7) Gently spread the dough on the molds, I recommend using a flat spatula and create waves, it must not be spread perfectly but rather it must be irregular so it will swell when cooked, creating very beautiful waves. Fill the entire circumference of the mold, spreading roughly.
8) Bake placing the two molds on the first level starting from the bottom. First 15 minutes 220 degrees static and chased another 10 minutes. With my oven it took 10 minutes in the second phase, but if they are not golden in yours, continue for another 5 minutes.
9) While you are cooking the third base, prepare the filling. Blend the egg yolks with the sugar, then add the mascarpone and finally the cream after having whipped it well. Put the cream in the fridge and let it thicken for an hour.
10) After taking the bases out of the oven, once they are cold and the cream is firm, fill the first layer with plenty of cream, when you take the second disc spread the cream on its back as well so when you place it it will make the cream thicker. Continue doing the same operation for third base.
11) Powder the last "mountainous" base with powdered sugar and if you want to decorate as I did, use red fruits.
12) The cake can be left to rest further in the fridge for several hours or enjoyed immediately. In any case, it must be kept in the fridge.
You will feel that goodness, a really easy to make and super beautiful cake 😍 !!! Promoted as a cake for Christmas ❤️! Enjoy your meal


Commenti
Posta un commento